
How to Make Backyard Fire Pit Ideas with Bricks Completely From Scratch in One Weekend


Building a brick fire pit from scratch involves selecting a safe location, laying a gravel foundation, stacking fire-rated bricks in a circular pattern with heat-resistant mortar, and creating proper ventilation gaps.
he entire project typically takes one weekend and costs between $200-400 for materials, creating a permanent outdoor gathering spot that lasts for years.
How to Make Backyard Fire Pit Ideas with Bricks
Nothing beats gathering around a crackling fire in your own backyard. The warmth, the ambiance, the perfect excuse to make s’mores on a Tuesday.
Building your own brick fire pit isn’t just a weekend project, it’s an investment in countless memorable evenings with friends and family.
Step 1: Pick Your Location and Clear the Area
Your fire pit needs to live at least 10-15 feet away from your house, garage, trees, or anything else that could catch fire. Check with your local fire department about regulations because some cities have specific rules about backyard fire features.
Once you’ve found the perfect spot, clear a circle about 7 feet in diameter. You’ll want the fire pit itself to be around 3-4 feet across, with plenty of safe space around it.
Remove all grass, roots, and organic material down to bare dirt. FYI, this is the part where you’ll get your cardio in for the day.
Step 2: Dig Your Foundation and Add Gravel
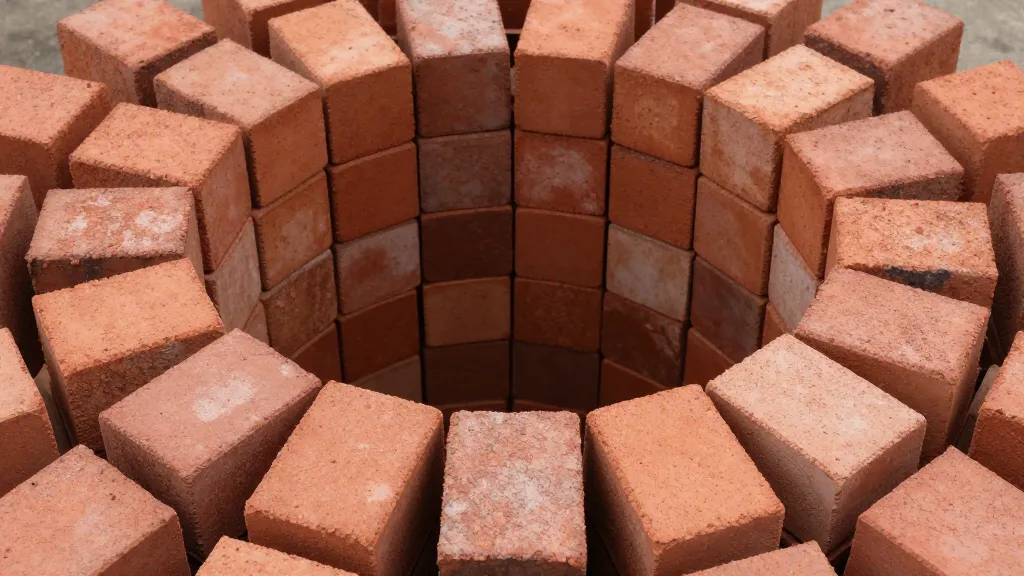
Dig down about 6-8 inches within your marked circle. The foundation matters more than you’d think because it prevents settling and keeps everything level.
Fill this hole with 4-6 inches of pea gravel or crushed stone. Tamp it down firmly with a hand tamper or even just a 4×4 piece of wood.
You want this base rock-solid (pun intended). Level it out carefully because any wonkiness here will haunt you later.
Step 3: Lay Your First Ring of Bricks
Here’s where it gets real. Use fire bricks or heat-resistant concrete blocks, not regular bricks. Regular bricks can crack or explode when exposed to high heat, which is obviously not the vibe we’re going for.
Arrange your first ring directly on the gravel. Most people use about 25-30 bricks for a 36-inch diameter pit. Place them end-to-end in a circle, adjusting as needed to make everything fit.
Don’t use mortar on this first layer. The weight of upper layers will hold everything in place, plus you’ll want drainage at the bottom.
Getting the Circle Right
Use a stake in the center with a string tied to it as a compass. Mark where each brick should sit. This old-school method works better than eyeballing it, trust me.
Step 4: Stack Additional Layers with Mortar
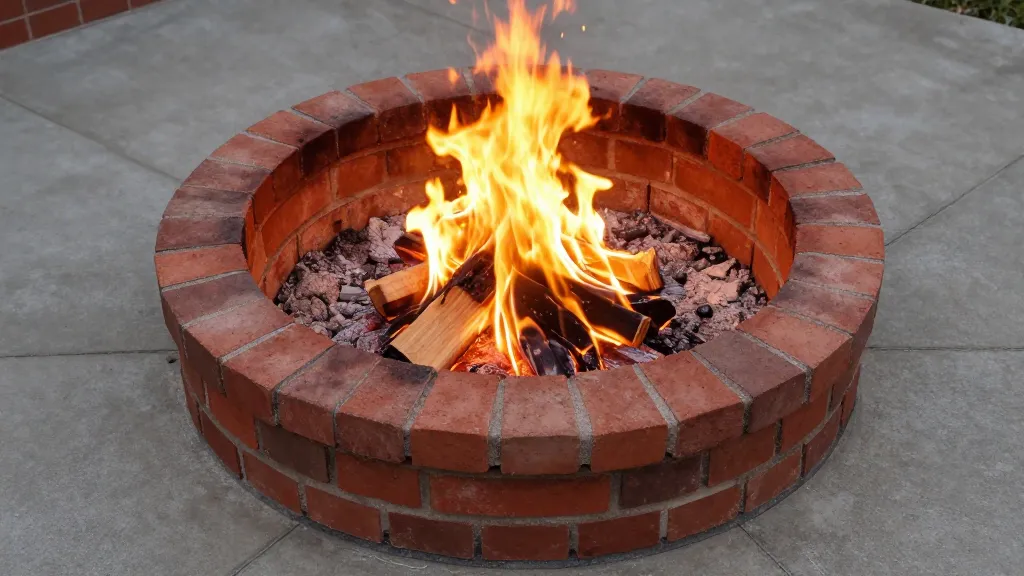
Time to go vertical. Mix your refractory mortar (the high-heat stuff, not regular mortar) according to package directions. Apply a generous layer on top of your first ring and start stacking.
Stagger each layer like you’re playing Jenga. The seams shouldn’t line up vertically. This creates structural integrity and looks way more professional. Most fire pits need 3-5 layers total, giving you a finished height of about 12-15 inches.
Every few bricks, use your level to check that everything stays even. Wipe off excess mortar as you go because dried mortar is a pain to chip off later.
Creating Air Flow Gaps
Leave small gaps (about 1-2 inches) between a few bricks on your first or second layer. These act as air vents, feeding oxygen to your fire. Without them, your fires will struggle and smoke like crazy.
Step 5: Let It Cure and Add Finishing Touches
The hardest part? Waiting. Let your mortar cure for at least 48 hours before using the fire pit. I know it’s tempting to light it up immediately, but patience pays off.
After curing, you can add a metal fire ring insert inside if you want extra protection for your bricks. Some people skip this, others swear by it. IMO, it’s worth the $50-100 investment for longevity.
Consider adding a gravel or paver stone patio around your fire pit. It defines the space and gives people a stable surface to set up chairs.
Step 6: Safety Setup and First Fire
Before your inaugural fire, stock up on safety essentials. Keep a fire extinguisher, garden hose, or bucket of sand nearby. Seriously, don’t skip this.
Start with a small test fire using dry kindling. Watch how the smoke drafts and make sure everything holds together under heat.
Your first fire should be modest, not a raging inferno.
Never use gasoline, lighter fluid, or other accelerants in a brick fire pit. They can cause dangerous flare-ups and damage your mortar. Stick with proper fire starters and dry wood.
Key Takeaways
- Location matters: Keep your fire pit at least 10-15 feet from structures and check local regulations before building
- Use the right materials: Fire bricks and refractory mortar are non-negotiable for safety and longevity
- Foundation is everything: A solid gravel base prevents settling and keeps your pit level for years
- Don’t rush the cure: Let mortar set for 48 hours minimum before lighting your first fire
- Safety first, always: Keep extinguishing tools nearby and never use chemical accelerants


